
How-To Guide
Water Change Guide
Regular partial water changes are one of the least glamorous jobs in fishkeeping, but they are also one of the most useful. Removing a portion of old aquarium water helps manage dissolved waste and gives you a chance to inspect the tank, remove debris, and catch small problems before they become bigger ones.
A good water change is not about making the aquarium sterile. It is controlled maintenance: remove an appropriate amount of water, protect the filter and livestock, prepare replacement water properly, and avoid sudden changes in temperature or chemistry.
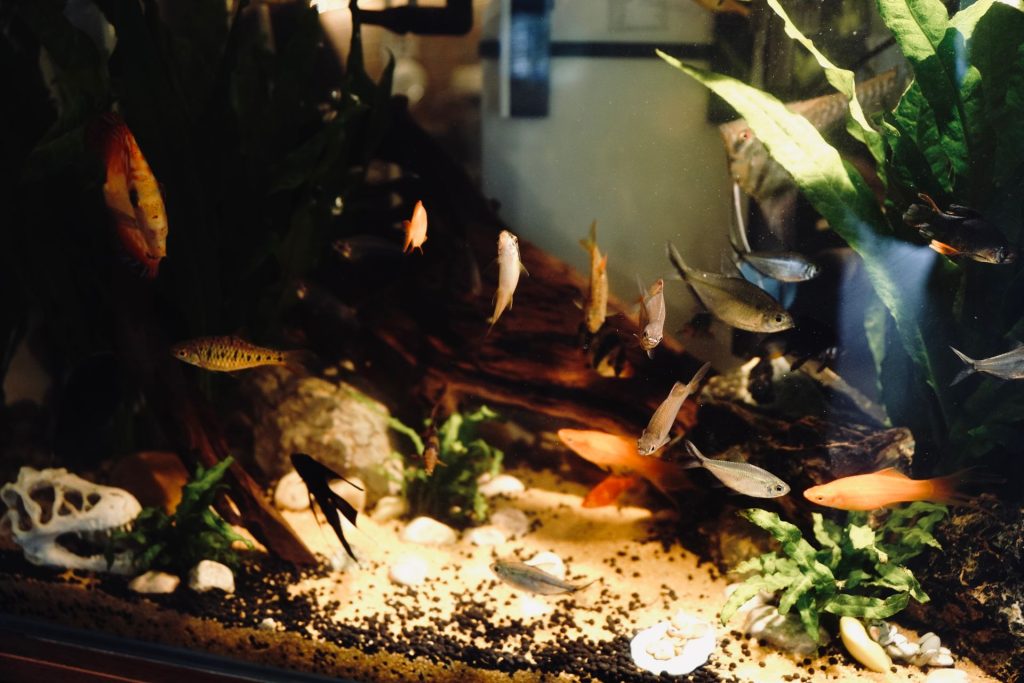
What Is a Partial Water Change?
A partial water change means removing some existing aquarium water and replacing it with appropriately prepared water. It is different from topping off evaporation and different from draining and scrubbing the entire aquarium.
How Often Should You Change Aquarium Water?
There is no universal schedule. Stocking, feeding, plant growth, aquarium volume, source water, and nitrate trends all matter. Test the water and watch how the tank changes between maintenance sessions.
What You Need
- Siphon or gravel cleaner
- Aquarium-only bucket or hose
- Water conditioner when needed
- Thermometer
- Water tests
- Towels
Keep aquarium tools away from household detergents and cleaners.
Before You Start
Check temperature and replacement water. Follow the heater and filter manufacturers’ instructions before lowering the water level. A submerged heater should never remain powered outside its permitted operating level.
How to Change Aquarium Water
1. Prepare replacement water
Treat chlorine or chloramine when present and avoid a large temperature difference.
2. Disconnect equipment where required
Follow equipment instructions.
3. Start the siphon
Use an aquarium siphon; do not prime it by mouth.
4. Remove the planned volume
Stop at the intended amount rather than chasing every particle.
5. Clean appropriate substrate areas
Use a gravel vacuum or gentler sand/planted-substrate technique.
6. Refill slowly
Add prepared water without creating a sudden environmental change.
7. Restart equipment
Confirm filter flow and heater operation.
How to Use a Gravel Vacuum
Push the wider end of the siphon gently into ordinary gravel and allow debris to rise with the water. Gravel is heavier and generally falls back while lighter waste is carried away. You do not need to keep digging until every grain looks newly washed.
Sand and planted substrates need a lighter approach. Hover the siphon above the surface to collect loose debris, and avoid repeatedly disturbing plant roots or specialized soil. In planted tanks, cleaning selected open areas is often more sensible than deep-vacuuming the entire floor.
Should You Clean the Filter Too?
You can when it needs attention, but avoid turning the session into sterilization. Established biological media supports nitrifying microorganisms. Follow manufacturer guidance and avoid replacing all biological media at once.
Protecting the Biological Filter
Most of the aquarium’s useful nitrifying microorganisms live on wet surfaces, particularly filter media, rather than floating freely in the water. This means a normal partial water change does not “remove the cycle.” Problems are more likely when biological media is allowed to dry, exposed to harmful disinfectants, or replaced unnecessarily.
When mechanical media is dirty enough to restrict flow, clean it according to the filter manufacturer’s guidance. Biological media should be handled with the goal of preserving its established microbial community.
How Closely Should Replacement Water Match?
Replacement water should be suitable for the species and should not create a large sudden change. Temperature is the most obvious factor, but pH, GH, KH, and overall mineral content can matter as well. This becomes especially important in shrimp tanks, soft-water aquariums, and systems using deliberately modified water.
If tap water is already appropriate and the aquarium is maintained regularly, matching may be simple. If you use reverse-osmosis water, remineralizers, or a tap/RO blend, prepare the new water consistently before it reaches the tank.
What to Check Afterwards
- Filter flow
- Heater submersion
- Temperature
- Fish behavior
- Correct water level
- No disconnected hoses
Common Water Change Mistakes
Using untreated tap water
Condition chlorine or chloramine when present.
Leaving a heater powered while exposed
Follow its safety instructions.
Completely cleaning the tank
Routine maintenance should preserve biological filtration.
Using household-cleaning buckets
Keep dedicated aquarium tools.
Frequently Asked Questions
How Often Should I Do a Water Change?
Build the schedule around stocking, feeding, nitrate trends, plants, and source water rather than one universal rule.
Do I Need to Remove the Fish?
Usually not for routine partial changes.
Can I Use Tap Water?
Often yes, but chlorine or chloramine must be treated when present.
Should I Clean the Filter at the Same Time?
Only when it needs maintenance; avoid unnecessary disturbance of biological media.
Is Topping Off Enough?
No. Topping off restores level but does not remove old water.
Should Replacement Water Match Temperature?
Avoid large differences that create an abrupt shift.
Conclusion
A good water change is controlled, predictable maintenance. Remove an appropriate amount of water, clean debris where needed, prepare replacement water correctly, and protect heaters, filters, and biological media.
Once the routine becomes familiar, water changes stop feeling like a major event and become one of the simplest ways to keep a freshwater community stable.